Adding a New User
Add users one at a time directly from the Admin Dashboard.
Learn More About Adding Multiple Users at Once >
How to Add a New User:
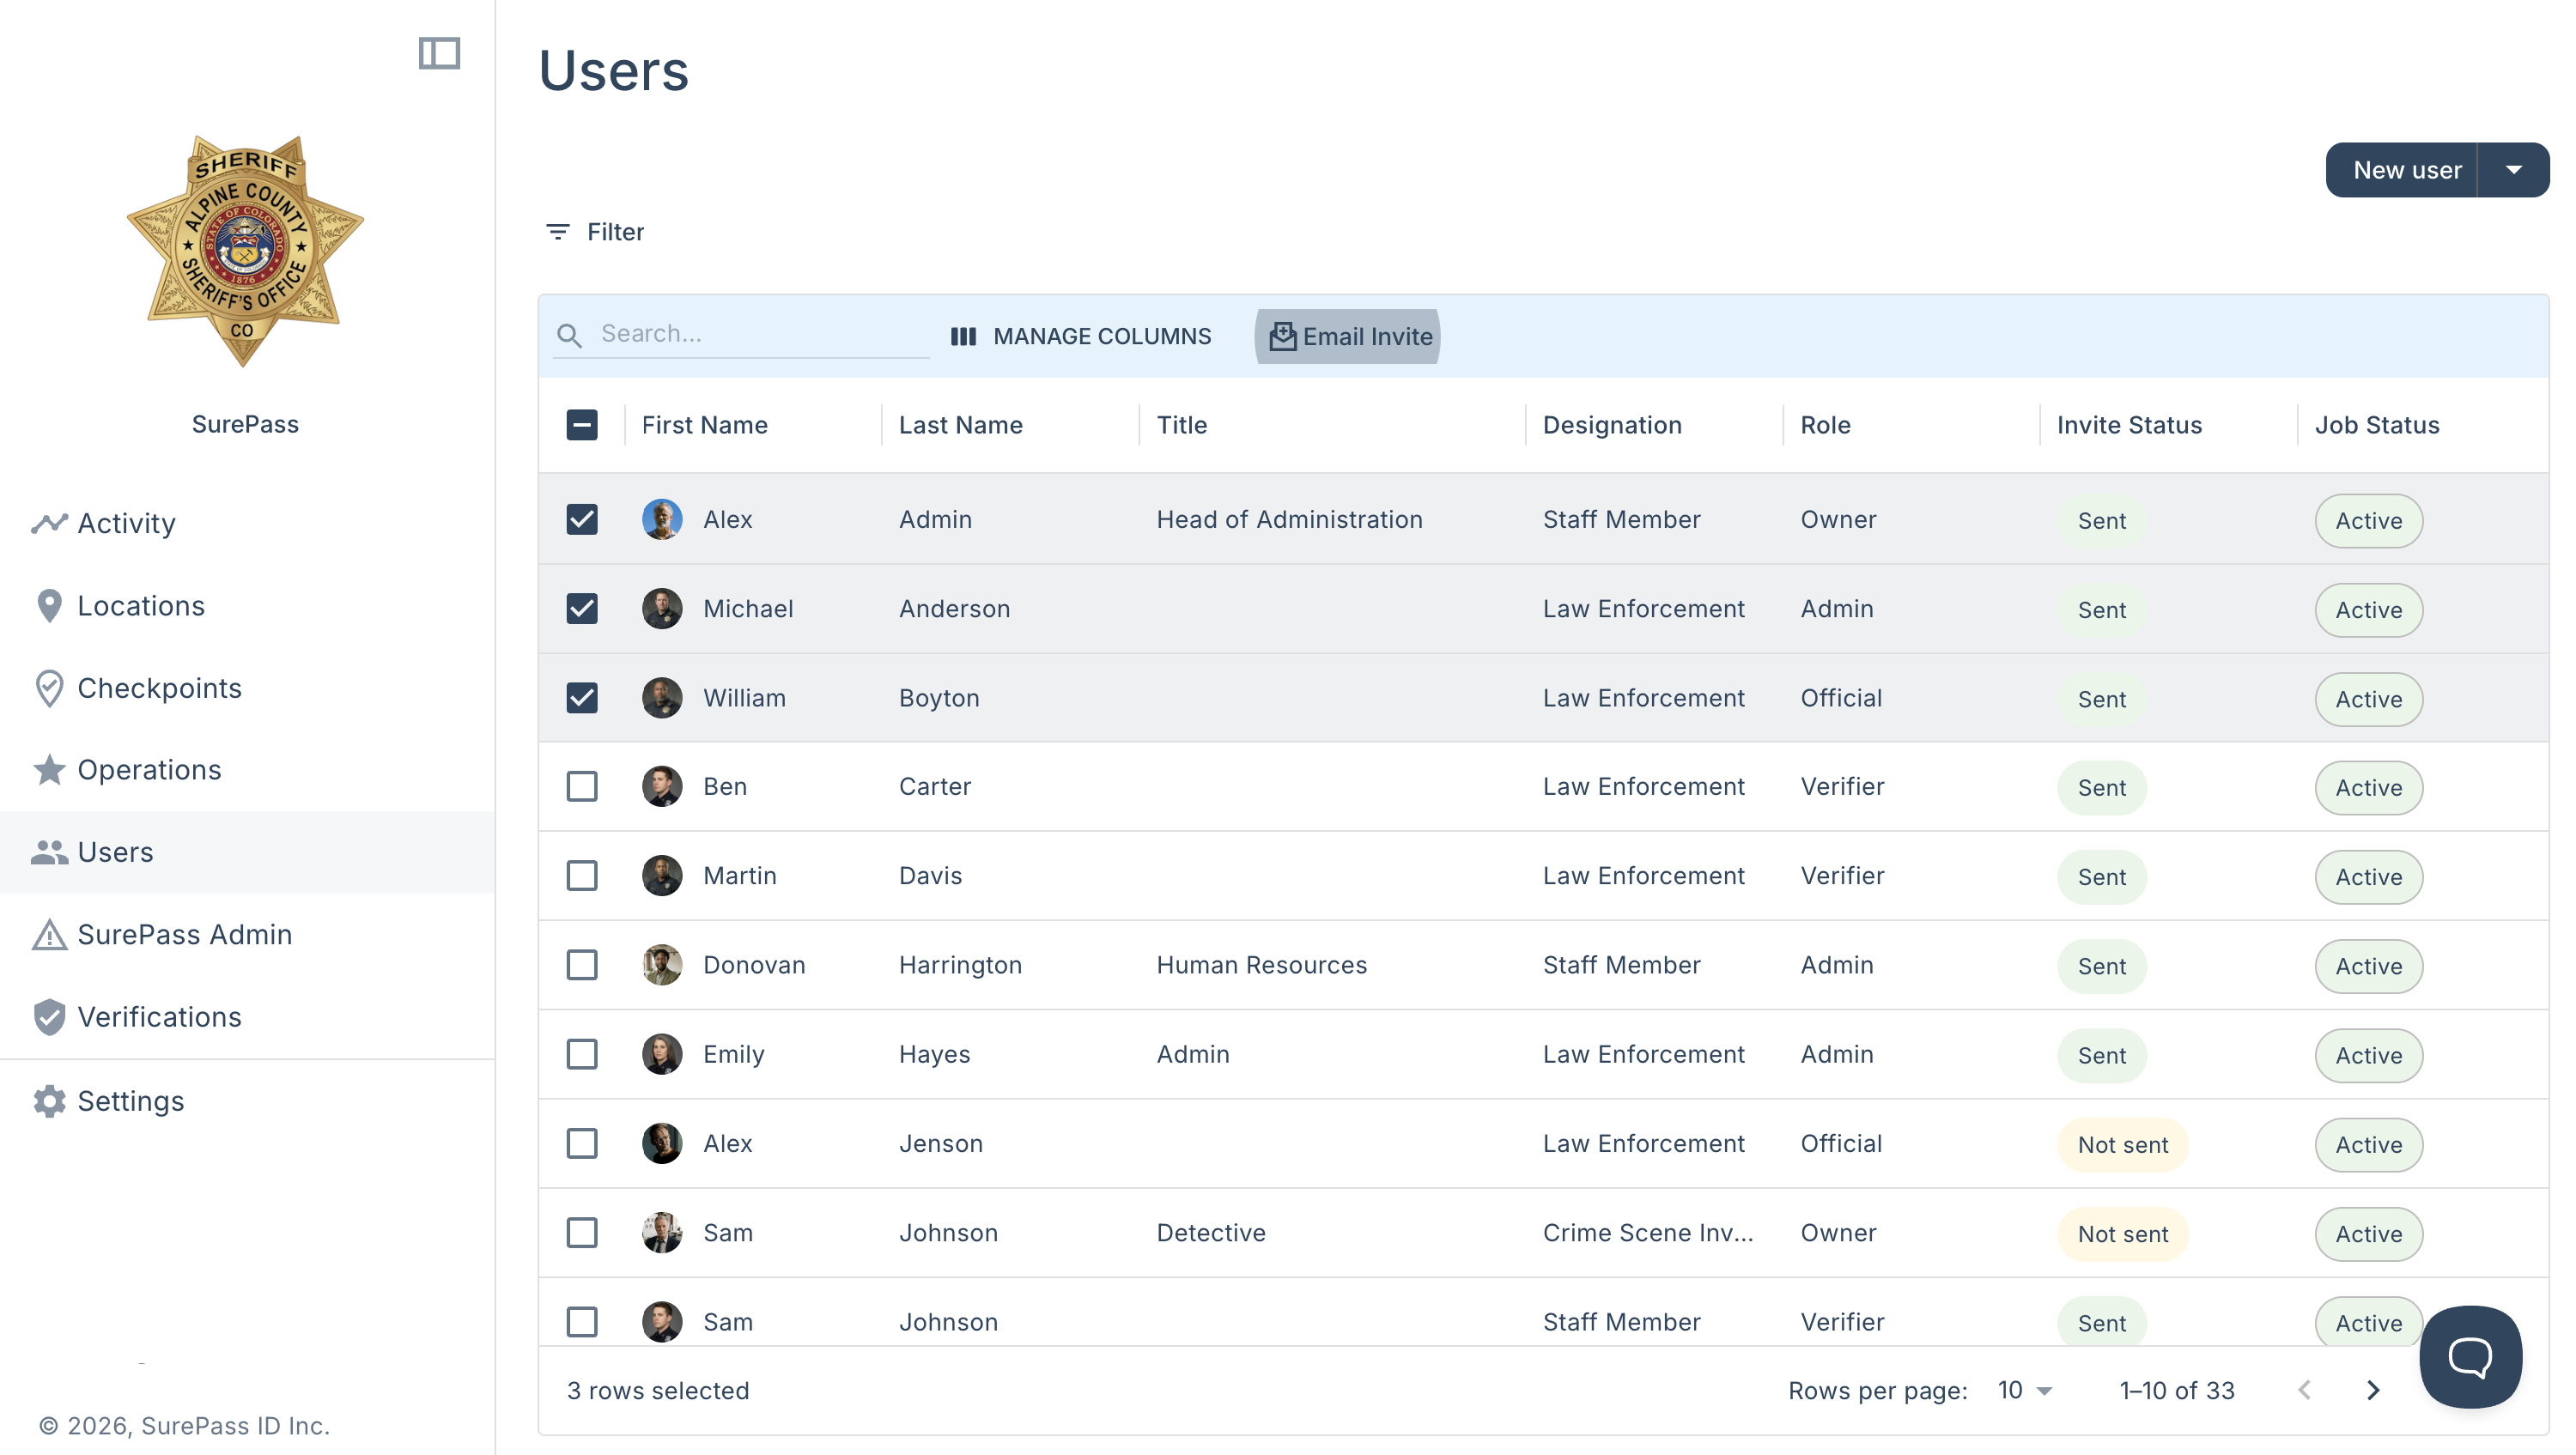
- From the Admin Dashboard, navigate to the Users page using the left navigation.
- Click the New User button at the top right of the table

- Enter the user's information. Use the field guide below for required and optional fields.
| Field | Required? | Notes |
|---|---|---|
| first_name | ⚠ Required | User's legal first name — used for verification. |
| last_name | ⚠ Required | User's legal last name — used for verification. |
| ⚠ Required | Must be an organization email address. Personal email addresses will not work. | |
| armed_permission | ⚠ Required | Enter YES or NO for every user. |
| Designation | ⚠ Required | The designation describes their official capacity within your organization and appears on their OCID. Learn More About Designations. |
| title | Optional | The user's title within your organization. |
| role | ⚠ Required | Determines the user's permission level in SurePass. Learn More About Roles. |
| rank | Optional | Additional Information used as part of the verification process at SurePass checkpoints. |
| badge | Optional | Additional Information used as part of the verification process at SurePass checkpoints. |
- Click Continue to save the user to your organization.
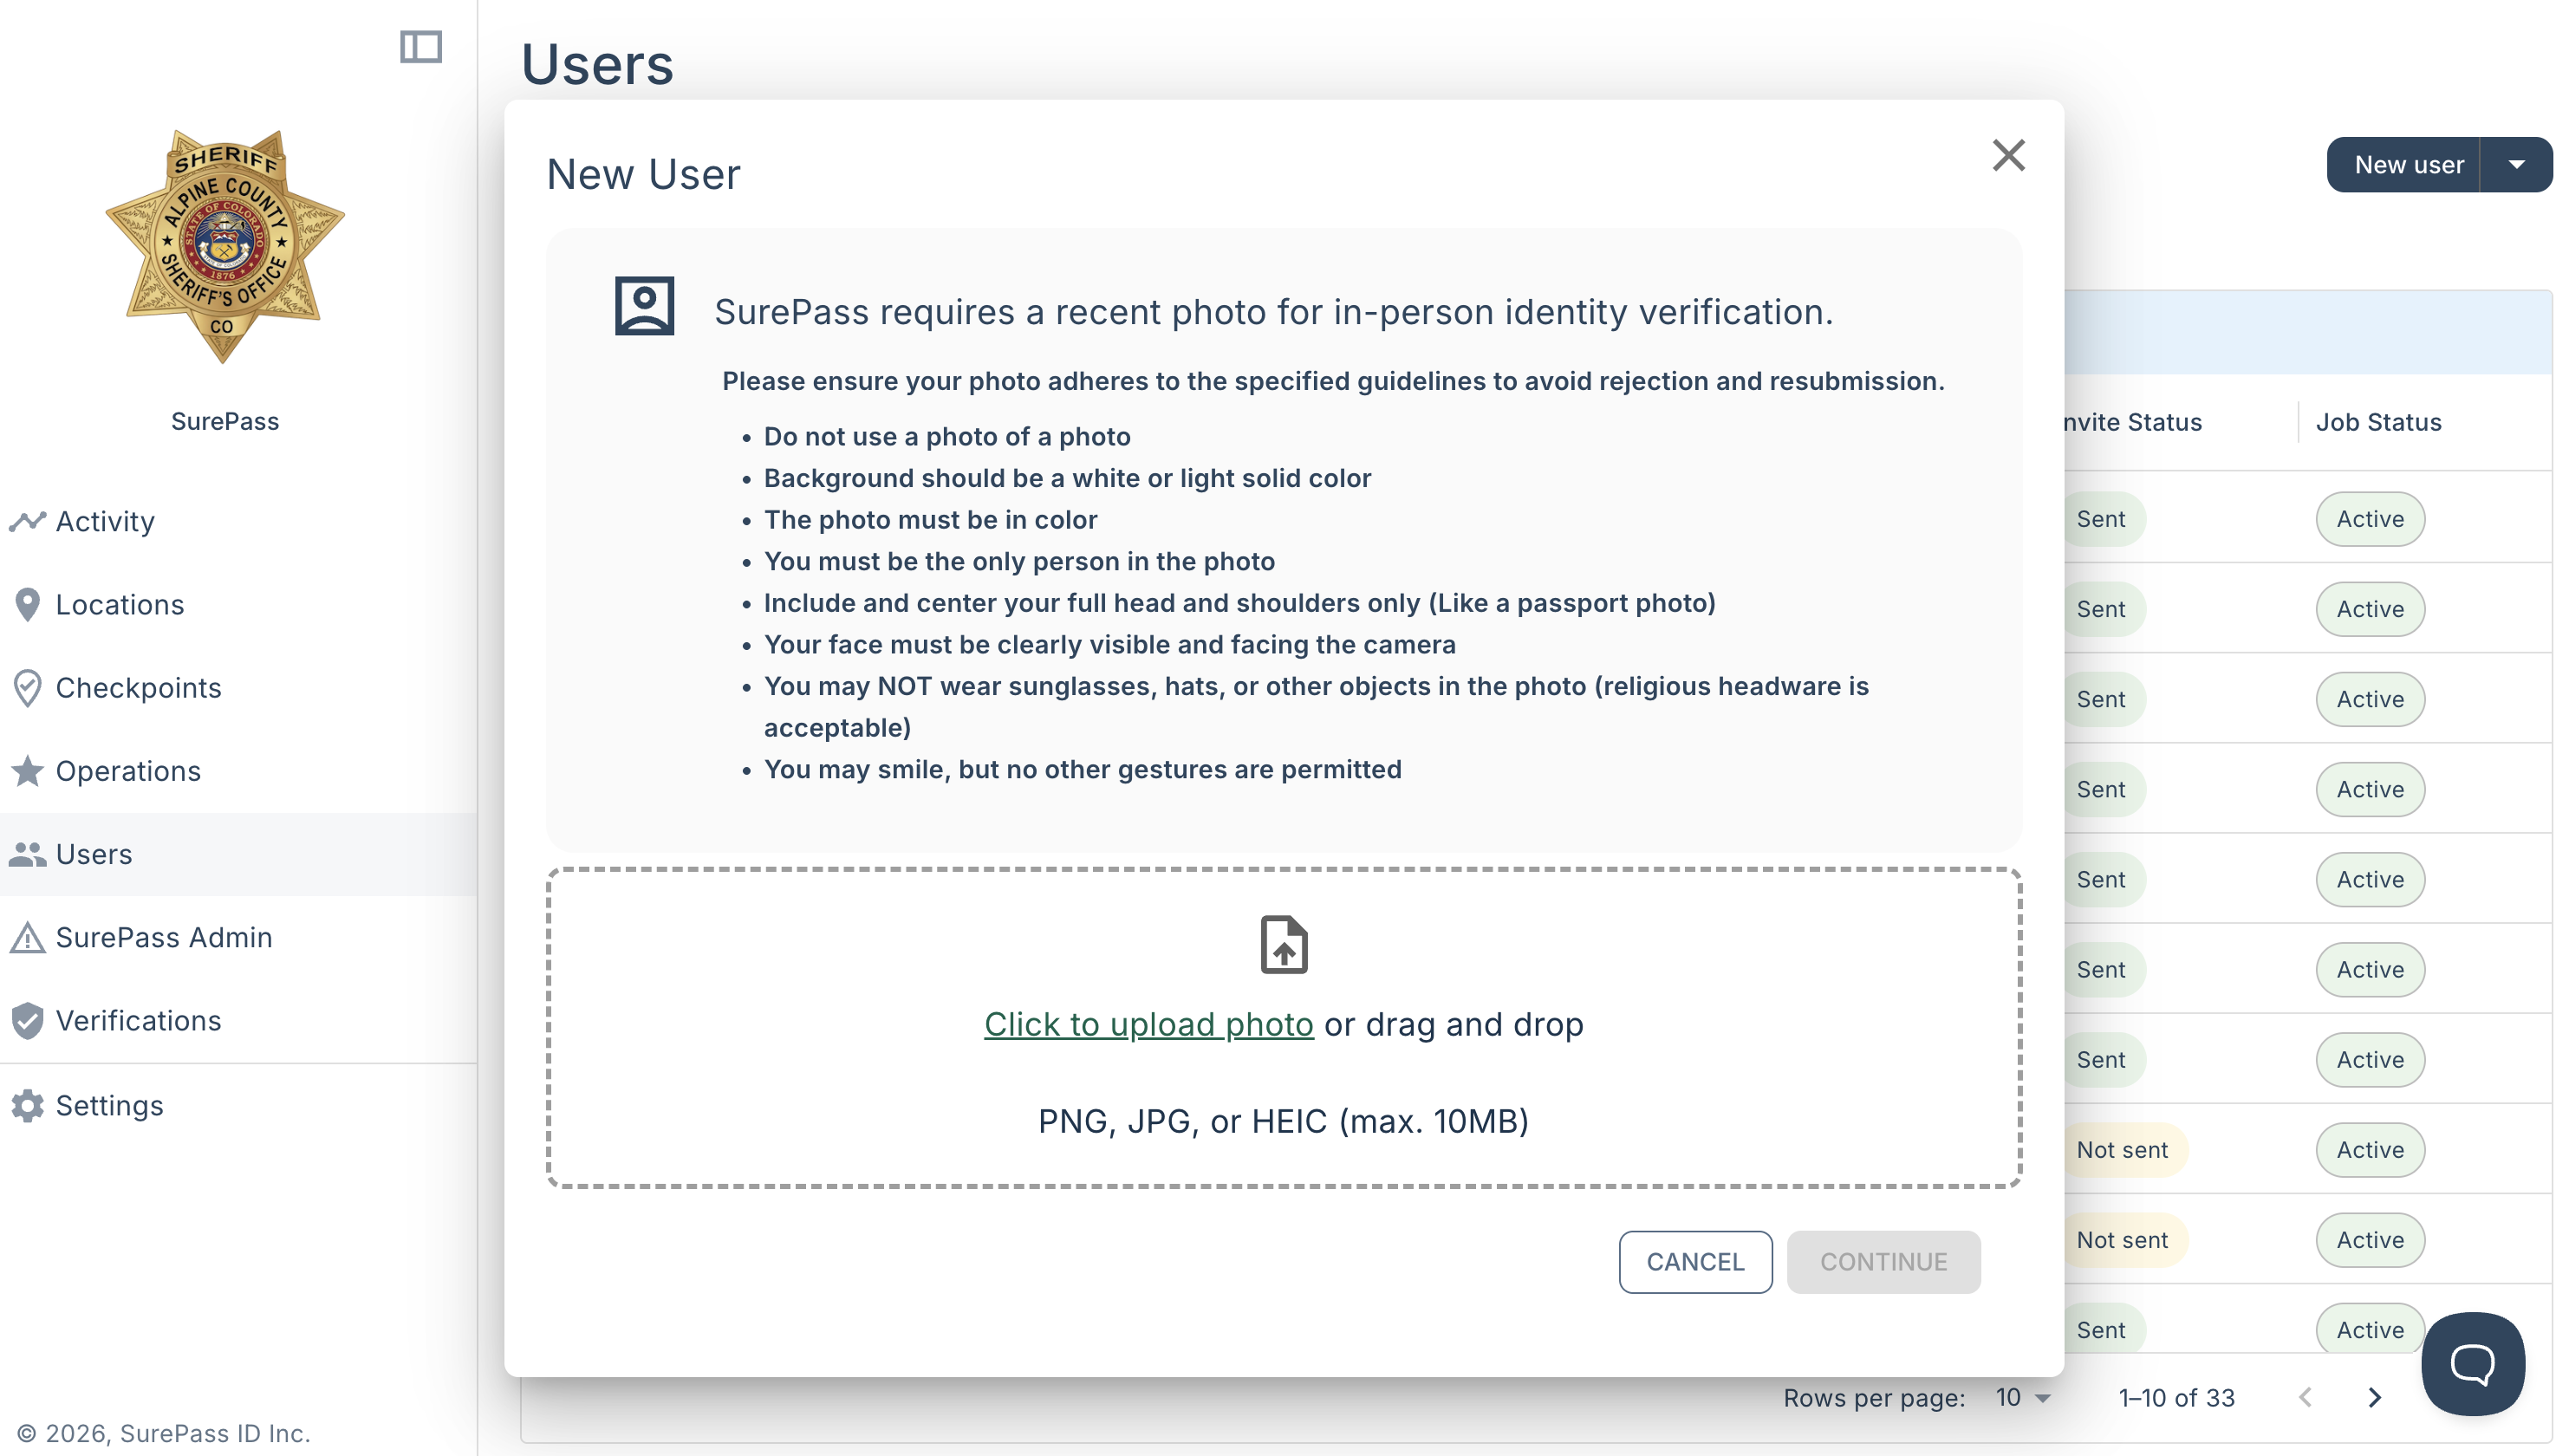
- Add photo for the user. If you would like to skip this step you can click cancel or close the screen.
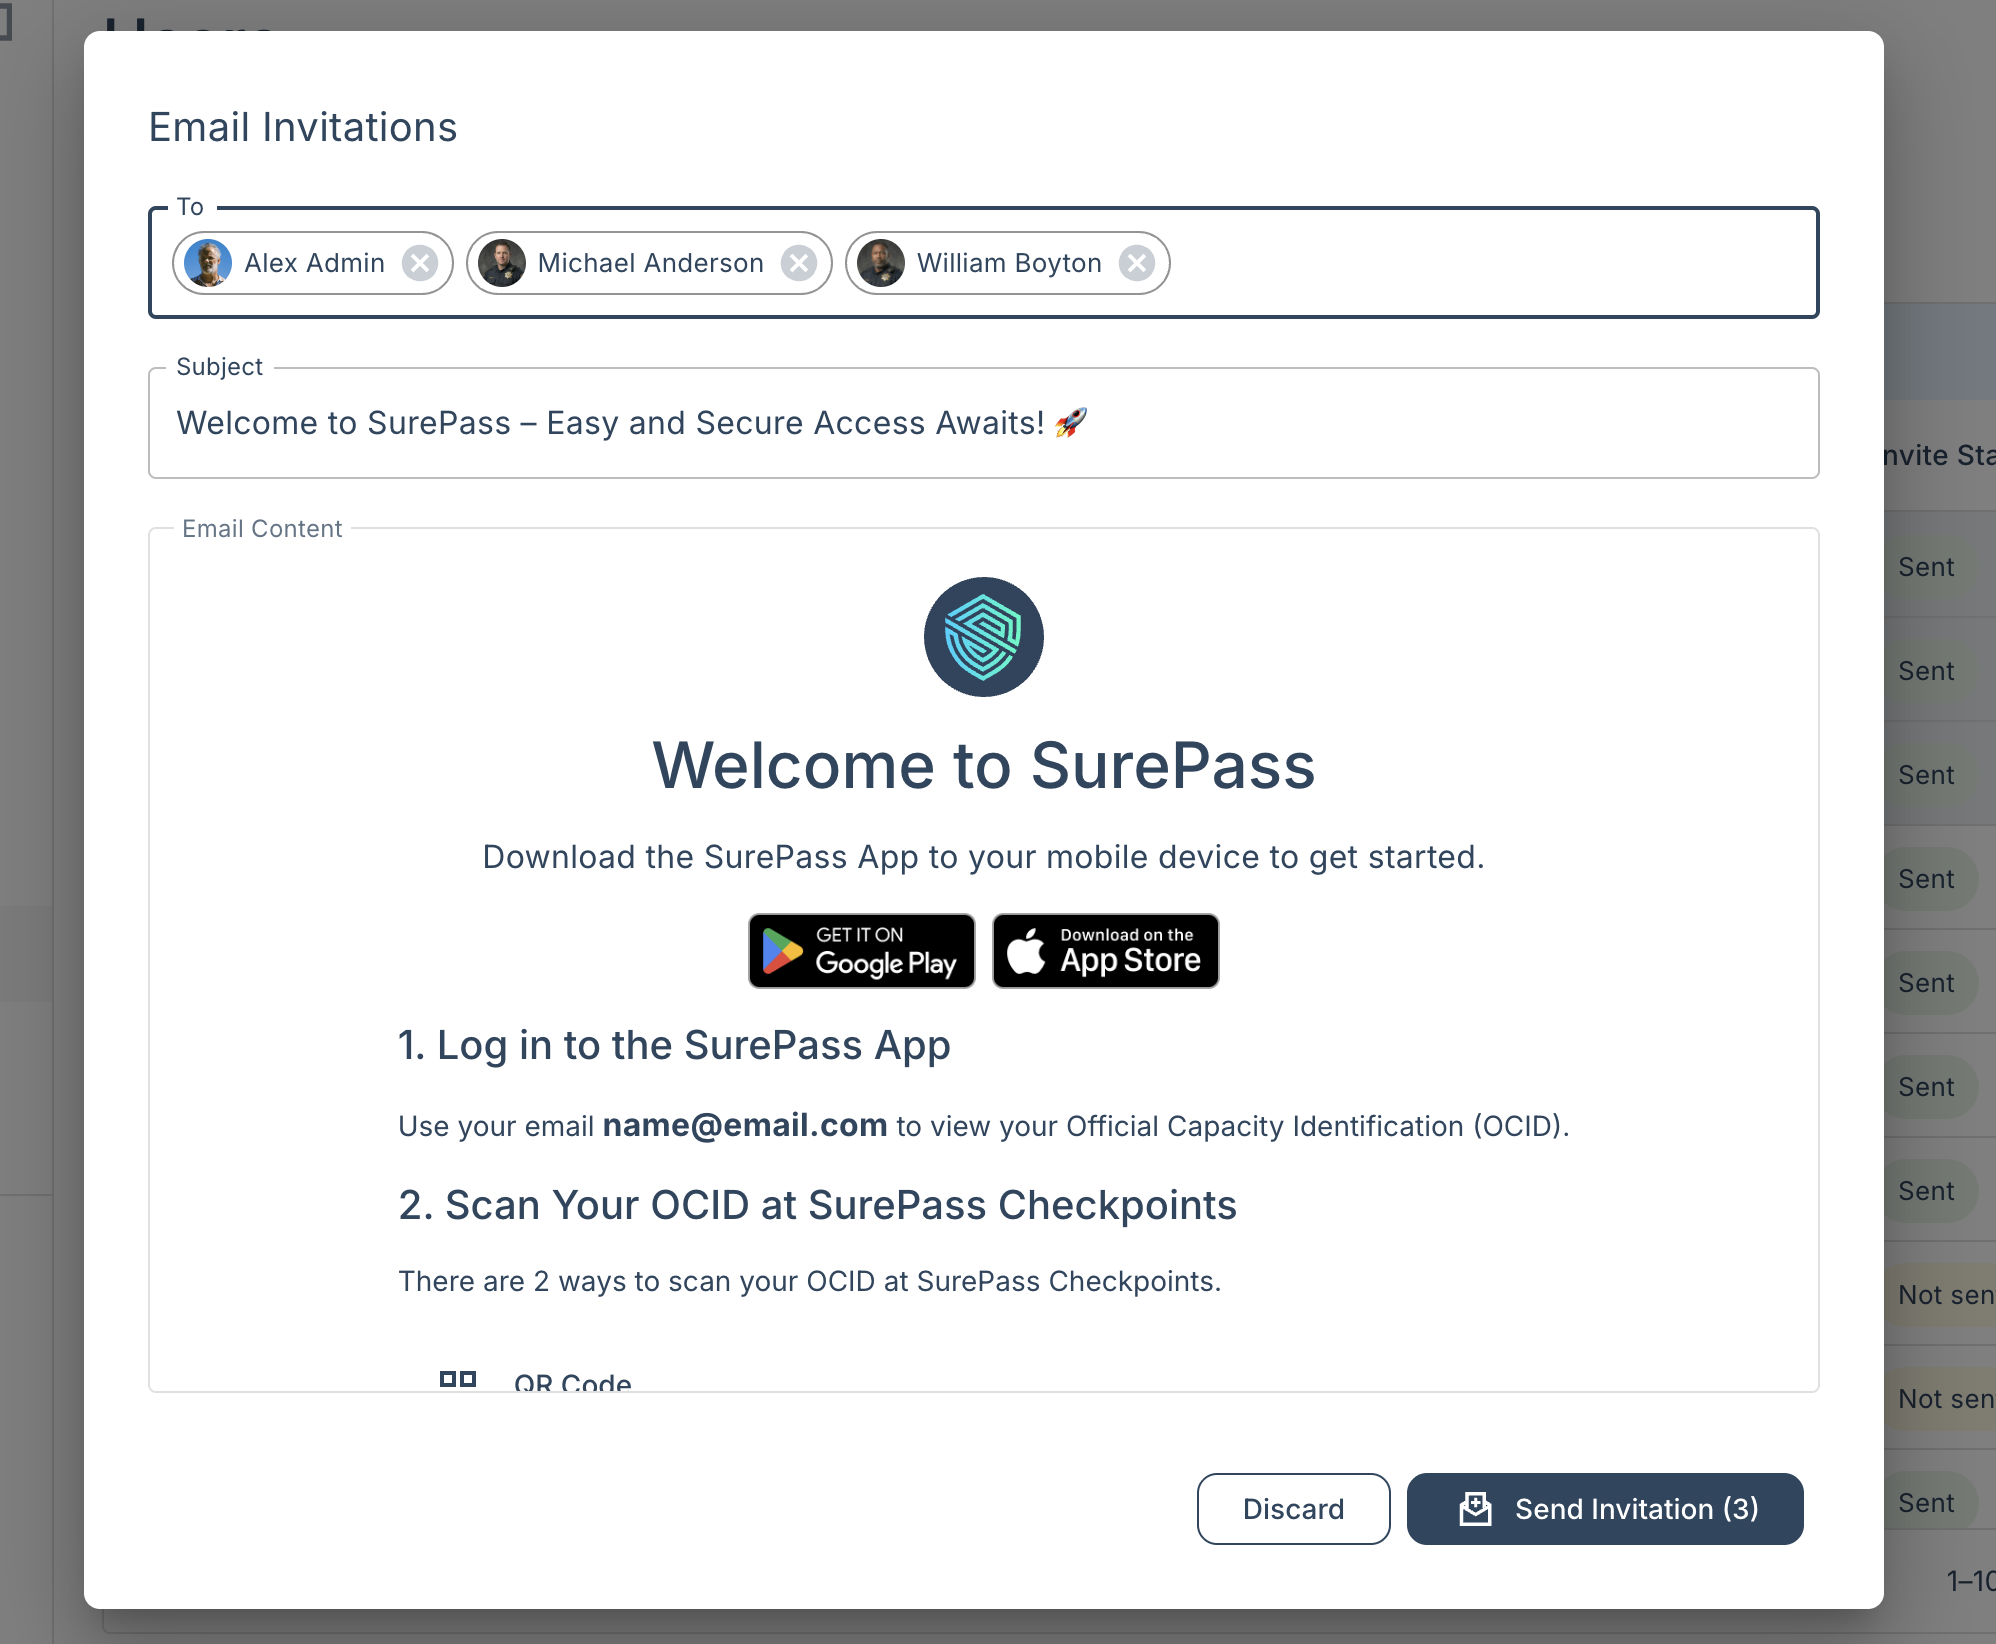
- To send users invitations to access their account, select them in the Users table and click Email Invite.